
Rodent-proofing isn’t about traps — it’s about making your home a fortress a rat or mouse simply can’t get into. Done right, exclusion is the most permanent form of rodent control there is: seal every gap with the right materials, and the problem stops at the walls instead of becoming a recurring winter battle inside them. This is the detailed, zone-by-zone guide to doing it properly on a Bellingham home — the materials that actually hold, the specific places rodents exploit, the spots almost everyone overlooks, and where the line falls between a weekend DIY job and work worth handing to a professional. The single most important principle: a rodent only needs one way in, so rodent-proofing is only as strong as its weakest gap.
At Sasquatch Pest Control, exclusion is the core of how we solve rodent problems across Bellingham, Ferndale, Lynden, and Whatcom County. Here’s the full playbook.
First, understand what you’re up against
Effective proofing starts with respecting the animal. A house mouse can squeeze through a gap about the size of a dime — roughly a quarter inch. A rat can get through an opening about the size of a quarter — around a half inch. If a pencil fits into a gap, a mouse can likely use it. Rodents are also strong, persistent chewers: they gnaw small cracks into usable openings, enlarge gaps around pipes, and can chew through many common building and sealing materials.
In Whatcom County, you’re typically defending against two behavior patterns at once. Norway rats work low — foundations, crawl spaces, basements, and drainage. Roof rats and house mice climb, exploiting the roofline, soffits, vents, and upper walls. A proofing job that only addresses ground level leaves the whole upper half of the house open, which is one of the most common reasons DIY efforts fail.
The mindset that works: inspect like a rodent. Get low, get up on a ladder, and check every junction where two materials meet and every spot a pipe, wire, vent, or duct passes through a wall. Those transitions are where the gaps hide — smooth, unbroken surfaces are rarely the problem.
Which materials actually keep rodents out?
This is where most DIY rodent-proofing quietly fails: the wrong materials. Rodents chew straight through expanding foam and standard caulk, so those can’t be your barrier — they’re only useful for holding a real barrier in place. Use gnaw-resistant materials to block the gap:
- Steel wool or copper mesh — packed tightly into gaps around pipes, wires, and small holes. Rodents can’t easily chew through it, and copper mesh resists rust better in our damp climate.
- Hardware cloth (wire mesh) — 1/4-inch galvanized mesh for covering vents, weep holes, and larger openings. Standard window screen is not rodent-proof; hardware cloth is.
- Sheet metal or metal flashing — for larger gaps, chewed corners, and covering vulnerable edges like the bottom of a door or a gnawed hole.
- Concrete or mortar — for sealing foundation cracks and gaps in masonry.
- Quality sealant or caulk — used to secure steel wool and mesh in place and seal small cracks, never as the sole barrier for a rodent-sized gap.
- Door sweeps and weatherstripping — heavy-duty sweeps for exterior doors and the garage, ideally with a metal or rodent-resistant edge.
Zone 1: The foundation and crawl space
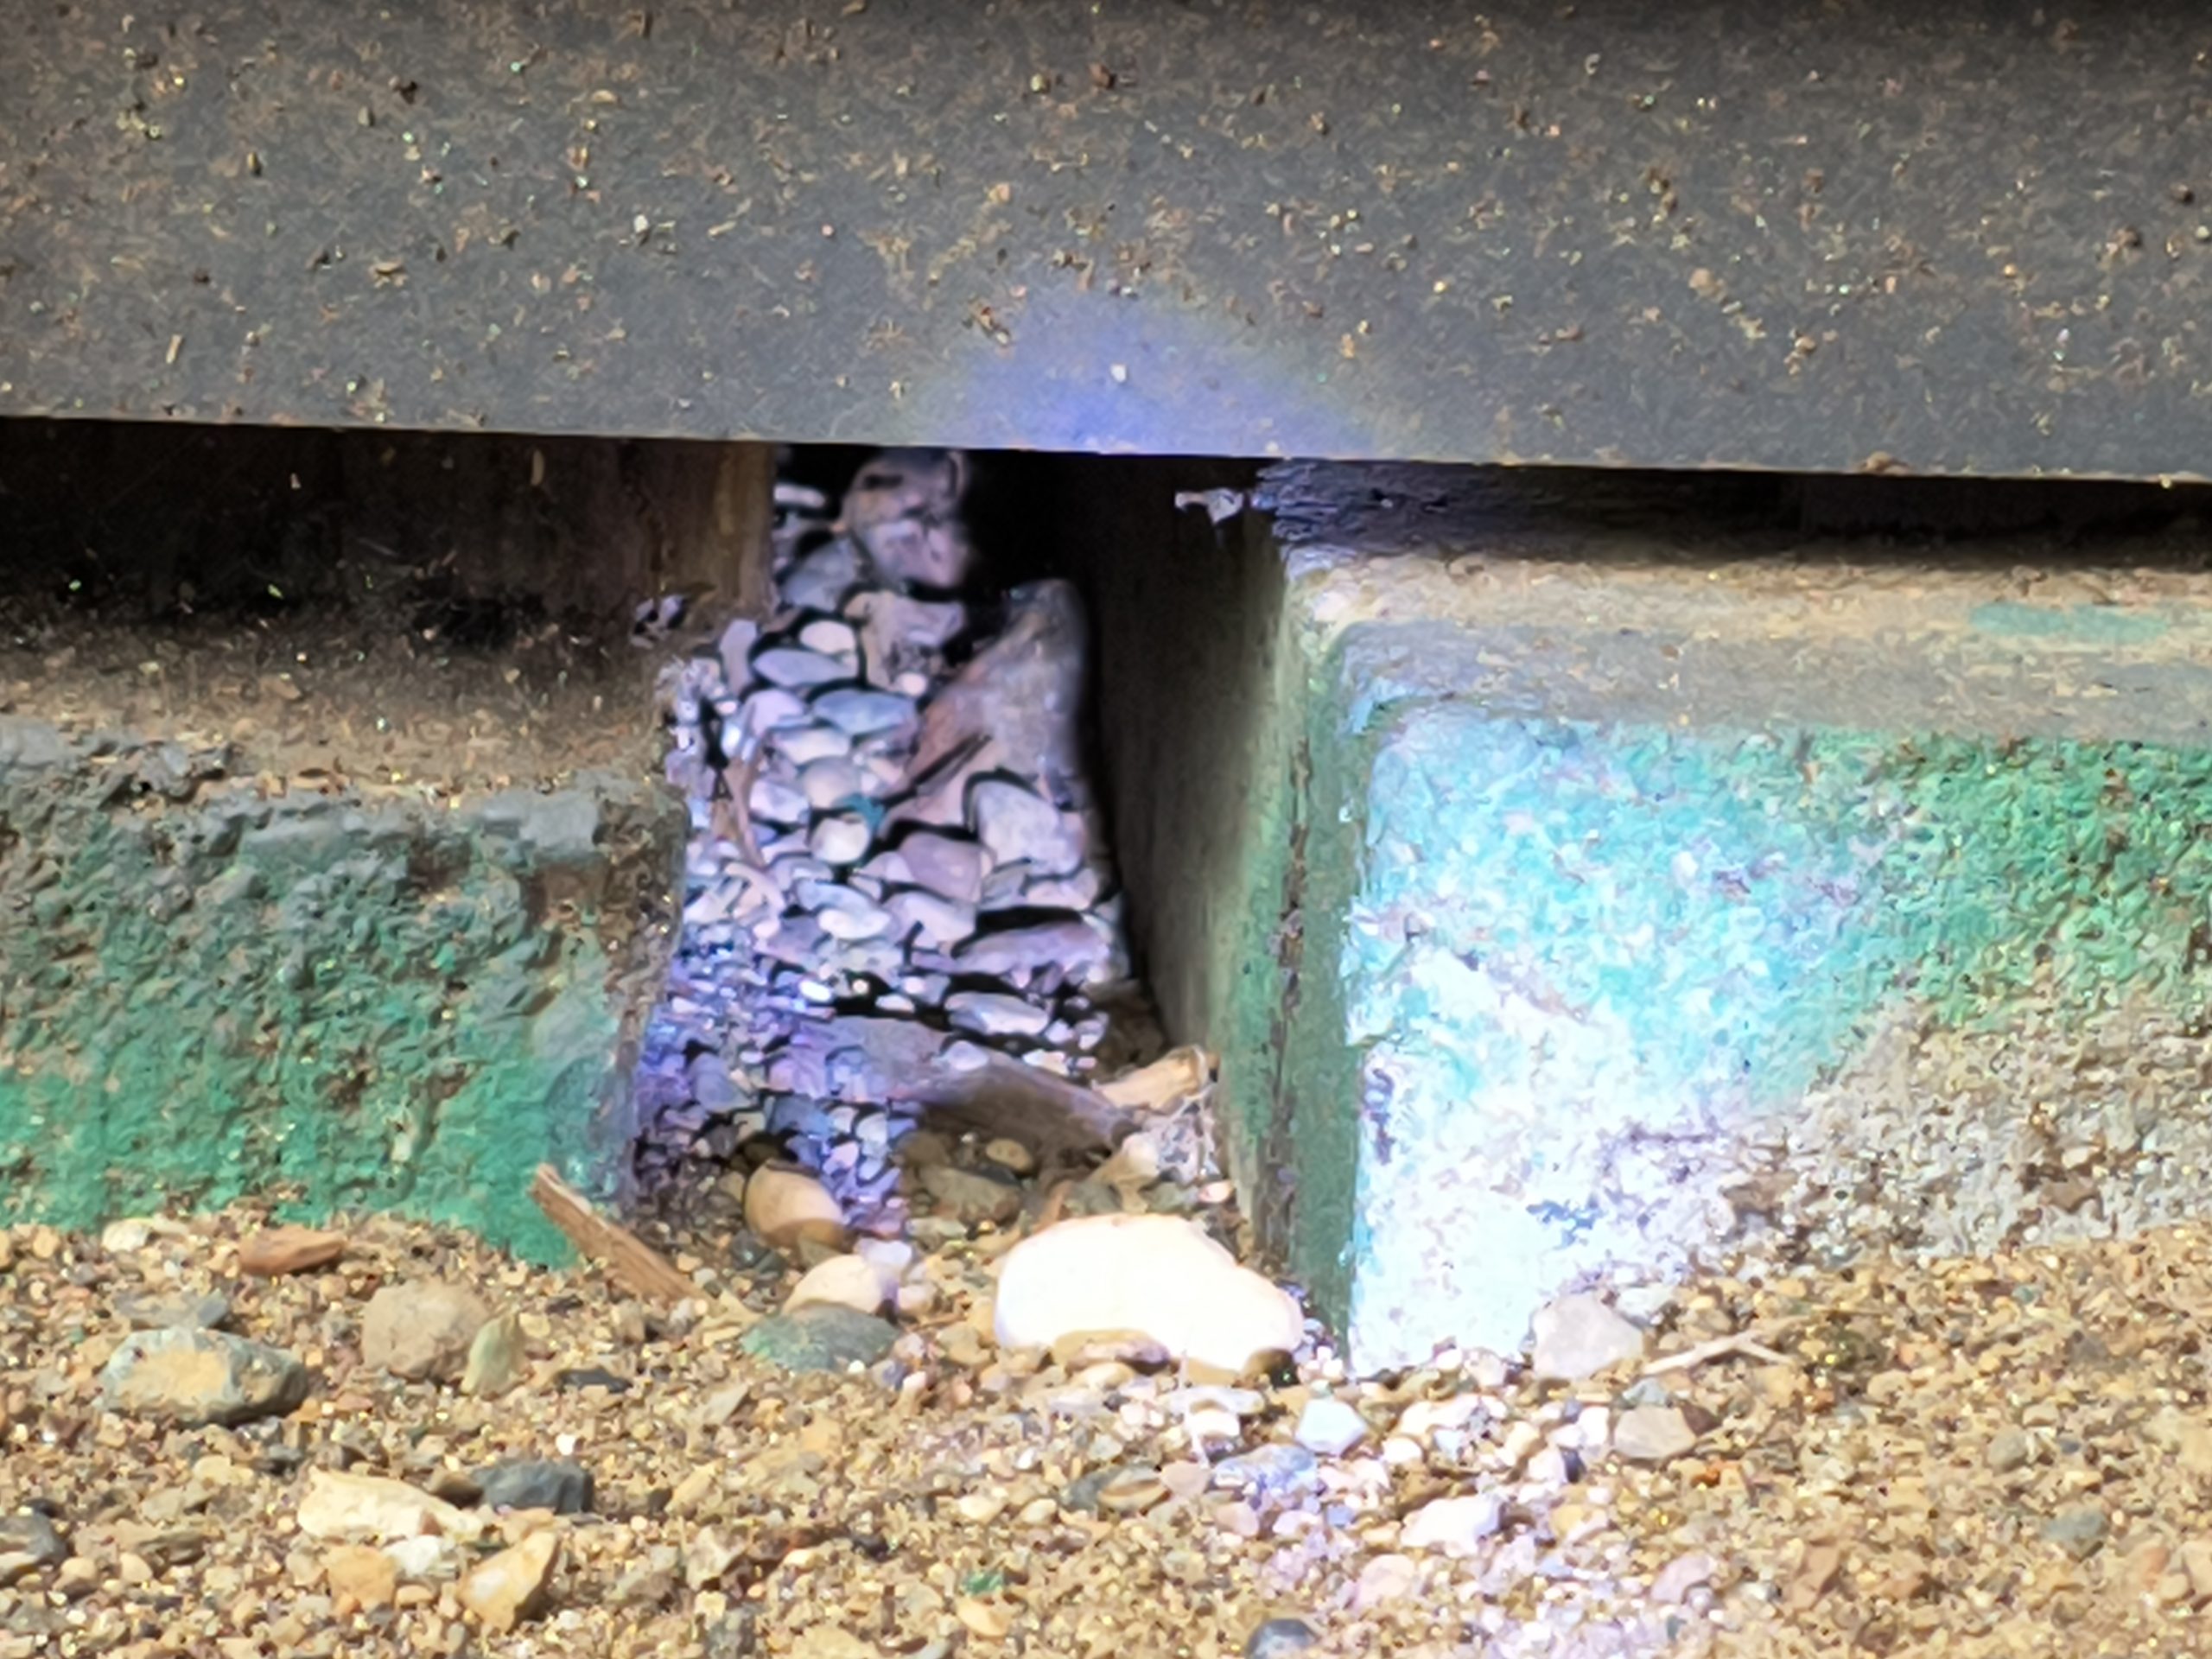
Start at the bottom, where Norway rats and mice probe for entry. Walk the entire foundation looking for cracks, gaps where the framing meets the concrete, and any opening a dime or quarter could pass through. Seal foundation cracks with concrete or mortar. Crawl space and foundation vents are a classic weak point — cover them with 1/4-inch hardware cloth and replace any that are rusted or torn.
Inside the crawl space, check where plumbing, electrical, and HVAC lines penetrate the subfloor and walls, and pack those gaps with copper mesh sealed in place. Damp crawl spaces are common here and doubly important: moisture draws rodents and rots the wood they chew, so pairing exclusion with moisture control (ventilation, vapor barrier, fixing leaks) strengthens the whole effort.
Zone 2: Utility penetrations and exterior walls
Every place a pipe, wire, cable, gas line, dryer vent, or hose bib passes through an exterior wall is a potential entry point, because there’s almost always a gap around it. This is one of the highest-yield zones to seal. Work around the entire exterior, packing each penetration gap with steel wool or copper mesh and sealing over it. Pay special attention to where utilities cluster — near meters, AC units, and where lines enter the home.
Also inspect the siding itself for gaps, chewed spots, and openings behind or beneath it, and check any gaps where the siding meets trim, corners, and the foundation.
Zone 3: Doors, the garage, and windows
Doors are a frequent entry route, especially the garage. Check under every exterior door for daylight — if you can see light, a mouse can get through. Install heavy-duty door sweeps and fresh weatherstripping. The garage door is notorious: the rubber seal along the bottom wears and develops gaps at the corners, and rodents slip right in, then use the garage as a staging area to reach the rest of the house. Replace worn garage-door seals and check the side seals too.
For windows, repair torn screens and seal gaps around frames. Basement and ground-level windows deserve extra attention since they’re within easy reach.
The spot everyone misses: the garage door corners. Even a good bottom seal often leaves small triangular gaps at the two bottom corners where the seal meets the track — a perfect mouse entry. Check them specifically.
Zone 4: The roofline, soffits, and attic — the climbers’ route
This is the zone DIY jobs skip, and it’s exactly where roof rats and mice get in. From a ladder (or with a professional who has the right equipment), inspect where the roof meets the walls, along the fascia and soffits, around roof and plumbing vents, and where the chimney meets the roof. Gaps at these junctions are common and easy to miss from the ground.
- Screen soffit, gable, and attic vents with 1/4-inch hardware cloth
- Cap the chimney and screen roof and plumbing vent stacks
- Seal gaps where the roofline meets the walls and around fascia boards
- Check for and seal any gaps around dormers, skylights, and where different roof sections meet
Because roof rats travel along branches and wires to reach the roof, trimming tree limbs back from the house removes the bridge that gets them up there in the first place — proofing and landscaping work together here.
Zone 5: Interior vulnerabilities
Once the exterior is sealed, tighten up the interior as a second line of defense and to slow any rodent that does get in. Seal gaps around interior pipe penetrations under sinks and behind appliances, check where plumbing enters walls in kitchens and bathrooms, and seal gaps around dryer vents. These interior seals also help contain a problem to one area rather than letting rodents roam the whole house through wall voids.
How do I know if it worked — or if rodents are already inside?
As you proof, watch for signs of existing activity, because sealing rodents in is as much a problem as leaving them out. Look for droppings, gnaw marks, grease smudges along travel paths, shredded-material nests, scratching sounds in walls or ceilings at night, and a musky odor in enclosed spaces. If rodents are already present, they need to be removed as part of the process — exclusion and removal go together, not one instead of the other.
DIY or professional? Where to draw the line
Plenty of this is achievable as a determined homeowner — foundation sealing, utility penetrations, door sweeps, and vent screening are all doable with the right materials and some patience. Where professional help earns its keep is the roofline and attic work (both for access and for knowing where climbers get in), thorough whole-house inspection that doesn’t miss the weakest gap, and situations where rodents are already established and need removal alongside sealing. Remember the core principle: a rodent only needs one opening, so the value of a professional is largely in not missing that one opening.
At Sasquatch Pest Control, our exclusion-focused approach is built around exactly this kind of comprehensive proofing. We inspect the whole structure — foundation to roofline — seal entry points with the gnaw-resistant materials that actually hold, handle removal if rodents are already inside, and address the conditions drawing them in. It’s the most durable rodent control there is, backed by a free inspection, no contracts, no scare tactics, no hidden fees, and a 100% service guarantee.
Frequently Asked Questions
What’s the difference between rodent-proofing and just setting traps?
Traps deal with rodents that are already inside; rodent-proofing (exclusion) stops them from getting in at all by sealing every gap with gnaw-resistant materials. Traps alone are an endless cycle — you catch the ones inside while new ones keep entering through the same openings. Exclusion is the most permanent form of rodent control because it addresses the root of the problem: access. Ideally the two work together, removing any rodents already present while sealing the home so no more can follow.
What materials actually keep rodents out?
Gnaw-resistant ones. Steel wool or copper mesh packed into gaps around pipes and wires, 1/4-inch hardware cloth over vents and larger openings, sheet metal for chewed corners and door edges, and concrete or mortar for foundation cracks. Caulk and expanding foam don’t work as barriers because rodents chew straight through them — they’re only useful for holding steel wool or mesh in place. Using the wrong material is the most common reason DIY rodent-proofing fails.
Where do rodents most commonly get into a Bellingham home?
The usual entry points are gaps around utility penetrations (pipes, wires, dryer vents), foundation cracks and crawl space vents, worn garage-door and exterior-door seals, gaps around windows, and — critically — the roofline, soffits, and attic vents that climbing roof rats and mice exploit. Because Norway rats work low and roof rats and mice climb, a home has to be sealed from foundation to roofline. Jobs that only address ground level leave the upper half wide open.
Why is the roofline so important for rodent-proofing?
Because roof rats and mice are climbers. They travel along tree branches, fences, and utility lines to reach the roof, then exploit gaps at the soffits, vents, fascia, and where the roof meets the walls. These upper entry points are easy to miss from the ground and are exactly the zone most DIY proofing skips — which is why homeowners sometimes seal the whole foundation and still hear scratching in the ceiling. Trimming branches back from the house removes the bridge that gets rodents up there.
What’s the spot people most often miss when rodent-proofing?
The bottom corners of the garage door. Even with a good bottom seal, small triangular gaps often remain at the two corners where the seal meets the track — a perfect mouse-sized opening. Rodents slip in there and use the garage as a staging area to reach the rest of the house. The roofline and attic vents are the other big blind spot. Because a rodent only needs one gap, these overlooked spots undo otherwise thorough work.
Should I check for rodents already inside before sealing up?
Yes — sealing rodents inside is as much a problem as leaving them out. Before and during proofing, watch for droppings, gnaw marks, grease smudges along walls, shredded-material nests, nighttime scratching in walls or ceilings, and a musky odor in enclosed spaces. If rodents are already present, they need to be removed as part of the process. Exclusion and removal go hand in hand, which is one reason a professional inspection is valuable before you close everything up.
Can I rodent-proof my home myself, or should I hire a professional?
Much of it is doable as a determined homeowner — foundation sealing, utility penetrations, door sweeps, and vent screening all work with the right materials and patience. Professional help earns its keep on the roofline and attic work, on thorough whole-house inspection that doesn’t miss the single weakest gap, and when rodents are already established and need removal alongside sealing. Since a rodent only needs one opening, the main value of a pro is making sure that one opening doesn’t get missed. We handle all of it across Whatcom County.
Ready to squatch-proof your home?
Get your Bellingham home sealed foundation to roofline before winter. Call or text Sasquatch Pest Control at 360-410-2199 for a free rodent-proofing inspection.
Sasquatch Pest Control offers honest, local, no-contract pest control — backed by our 100% service guarantee.Get a Free Quote